Showing posts with label paper piercing. Show all posts

Sunday, February 11, 2018

Celebrating You

Hi, everyone!  This week's Featured Stamper over at Splitcoast is Michele Reynolds aka Michelerey....congrats, Michele!!!  Wow, Michele has over 4000 photos in her gallery....there were so many that I fell in love with!  I was looking for inspiration to help me create a birthday card for my Step-Dad.....this gorgeous card was perfect!  I used the ink, spray and smash technique with navy blue and turquoise inks......somehow the panel came out looking purple, so I dug out some Vintage Violet cardstock (retired) for the card base.  Once the inked panel was dry, it was cut out with the ODBD Custom Pierced Rectangles.  The sentiment is from 'Celebrating You'.  There was a piercing template on my desk, so I decided to use piercing under the 'Dragonfly Single' instead of twine.  Turquoise enamel dots and ink splatters were added to match the water-colored dragonfly.

ODBD Celebrating You, ODBD Dragonfly Single, ODBD Custom Pierced Rectangles Dies, Card Designer Angie Crockett

Thanks for stopping by!

Blessings,

ODBD Designer Angie Crockett

Saturday, January 27, 2018

Count Your Blessings

Happy Saturday, everyone!  This week's Inspiration Challenge over at Splitcoast is to find inspiration from the Needlepoint.com website.  Before I discovered stamping, my hobby of choice was cross-stitch.  I have a storage container full of goodies waiting for me to retire so that I can get back to them....I'm just hoping that I still have eyesight left by the time retirement comes! LOL!!!!  When I saw this gorgeous butterfly, I thought of the cool butterfly from the ODBD set, 'Boho Blessings'.  The square panel under the butterfly was cut with the ODBD Custom Pierced Squares Dies, then paper-pierced throughout to look like aida cloth.  Since I split the sentiment and stamped the second half inside, I will also be submitting this to the January Fan Club Challenge. 

ODBD Boho Blessings, ODBD Custom Pierced Squares Dies, Card Designer Angie Crockett

Here is the inside of the card showing the second half of the sentiment.  I cut a panel with the ODBD Custom Pierced Rectangles Dies to frame the sentiment. (The card was tilted a bit when trying to photograph the inside so it looks crooked, but it is actually straight.)

ODBD Boho Blessings, ODBD Custom Pierced Rectangles Dies, Card Designer Angie Crockett

Thanks for stopping by!

Have a blessed weekend!!

ODBD Designer Angie Crockett

Sunday, July 27, 2014

Berry Sweet Strawberries

Hi, everyone!  Today's Featured Stamper over at Splitcoastis Heidi Tekunoff aka stamptek......congrats, Heidi!!!  I chose this gorgeous card to recreate today using the following products from Our Daily Bread designs: Strawberries & Pickles (strawberry image), Strawberries (sentiment), ODBD Custom Fancy Foliage Dies, ODBD Custom Beautiful Border Dies (which I embossed instead of cut and hand trimmed the bottom edge.)  After adhering the white panel to the red cardstock, I used my regular paper piercer at the top and an ornare piercing tool (sharper and smaller tip) to pierce the imprints from the embossed border die.  I couldn't resist and added some gingham ribbon and a bow tied with my Bow Easy, plus two pearls in the corner.  To see a close up of the embossed border die and piercing, please click on the photo.

ODBD Strawberries, Strawberries and Pickles, ODBD Custom Fancy Foliage Dies, ODBD Custom Beautiful Border Dies, Card Designer Angie Crockett

Thanks for stopping by!

Blessings,

ODBD Designer Angie Crockett

Tuesday, November 5, 2013

Hello My Friend!

Hi, everyone!!  This week's Color Challenge over at Splitcoast is Old Olive, Calypso Coral, and Real Red.  On a white panel, I sponged red, coral, and olive over a silhouette mask (Prima Co.).  The CAS (Clean and Simple) Challenge this week is stitching/faux stitching, so I paper pierced the edges and used the Faux Stitching technique by connecting the pierced holes with a white chalk marker.  The silhouette was spritzed in olive by using my Air Art Tool and an olive marker.  The sentiment is from "Sentiments Collection 2" by Our Daily Bread designs.  Olive pearls were added as the only embellishment. I made this card in about 25 minutes....yay, another record for me!!

ODBD Sentiment Collection 2, Card Designer Angie Crockett

Thanks for stopping by!!

Blessings,

ODBD Designer Angie Crockett

Monday, September 2, 2013

I Found The One Whom My Soul Loves!

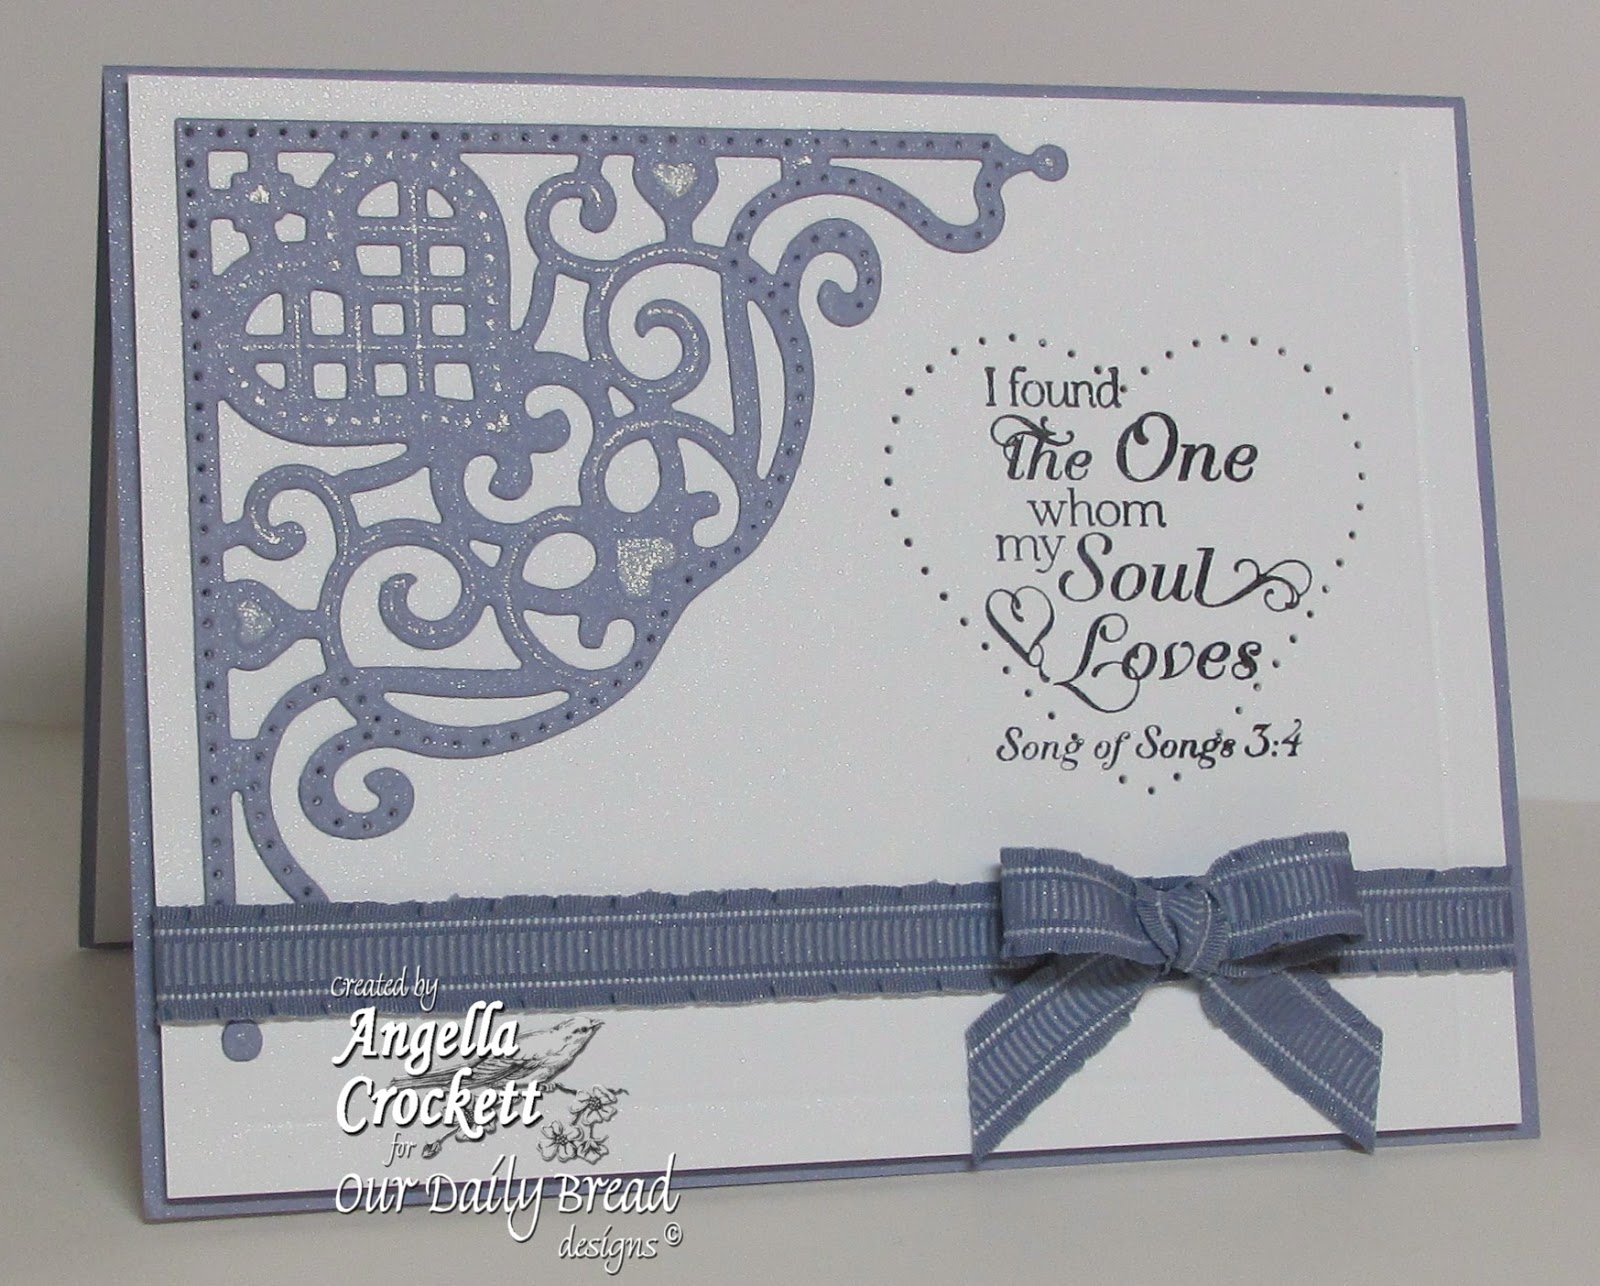
Hi, everyone!  Today I would like to share a very simple anniversary card I made using the new ODBD Custom "Decorative Corners" die set, along with a verse from the previously released set, "Love Scriptures".  The largest corner die was cut out of Wisteria cardstock, the embossed sections were colored with a glitter pen, then the die cut was adhered to a white panel which was scored with my Scor-buddy.  Once the verse was stamped, I used a heart shaped stencil to pierce around it....this one I did not want to try free-hand! :)  After adding some matching ribbon and bow (tied with a Bow Easy), several sprays of "Pearl" Glimmer Mist were added for sparkle.


I will be submitting this to the Dynamic Duos Challenge, to use plum and one other color.....I guess my other color would be black for the scripture verse....hope that counts!!

Thanks so much for visiting today!

God bless!

ODBD Designer Angie Crockett

Friday, March 30, 2012

April Sneak Peeks and Paper Piercing Tutorial!

Hi everyone! Just wanted to share with you a couple of cards I created with some brand new stamps from Our Daily Bread designs (available April 1st!). I made these while I was filming a Paper Piercing / Faux Stitching Tutorial over at the Our Daily Bread designs blog.....check out the tutorial HERE.


I LOVE this new stamp, the Prayer of St. Francis! It has been a favorite of mine for many years....I will store this stamp on the shelf next to the Mother Teresa sets by Our Daily Bread designs......oh, in case you're a Mother Teresa fan, those sets are 'Mother Teresa', 'Let Us Begin', and there is a quote from her on one of the March releases, 'Spread Light'!


Stamps: Our Daily Bread designs 'Prayer of St. Francis' (will be available April 1st);
Cardstock: Stampin Up Pear Pizazz and Very Vanilla;
Designer Paper: Prima 'Romantique';
Ink: Stazon Jet Black and Stampin Up Pear Pizazz;
Accessories: Spellbinders Grand Calibur (LOVE!), Grand Labels One Dies, Cheery Lynn Designs 'Fanciful Flourish', Prima Flower, Foam Tape, Paper Piercer;
Size: Approx 5-1/2 x 5-1/2.


To find out how to make shaped cards with your Spellbinder dies and Grand Calibur, check out a tutorial HERE!


Another card I made for the Paper Piercing tutorial features the new 'Cat Sympathy' set....isn't this Kitty adorable?! Pets are part of our families and it sure is tough when we have to say goodbye. I could have used this (and the 'Dog Sympathy' set) many times already, unfortunately.


Stamps: Our Daily Bread designs 'Cat Sympathy' (will be available April 1st);
Cardstock: Stampin Up Cherry Cobbler and Whisper White;
Designer Paper: My Mind's Eye 'Lost and Found - Rosy';
Ink: Stazon Jet Black, Stampin Up Markers;
Accessories: Spellbinders Fleur De Lis Squares and Square Nestabilities, Bow Easy, Stampin Up Twill Ribbon, Nestabling Pearls, Foam Tape, Paper Piercer and 'Mat Pack' template from Stampin Up;
Size: 6 x 4-3/4.


Thanks so much for stopping by! Have a blessed weekend!!!


Tuesday, September 14, 2010

Angie's Stamping Secrets!

Happy Tuesday, everyone! In case you missed the "Time With Angie" post on the ODBD Blog today, thought I would share some of my stamping secrets here on my blog as well.

It seems like just yesterday that I was a beginner stamper. There are so many little things I have learned along the way which make the difference between creating a good card and creating a great card! One of my favorite sayings is "It's the little things that make life big!" This is true in relationships AND stamping! Today I would love to share some of those little things which I incorporate into my work.

When others ask advice about paper-crafting, here are the most common suggestions I give:
*Always measure and cut accurately;
*Unless you're going for a distressed look, always trim off any paper shreds from the cut edges;
*Never glue any pieces together until you know for sure what the finished project will look like;
*Take your time when assembling your project to make sure things are lined up straight.


The most common question I get is "How do keep your paper piercing so straight?" Here are a few pics and some paper piercing tips:

Number one tip: Never assemble your project and try to paper-pierce afterward....it is nearly impossible to get straight lines and your paper will most likely crease on the edge. To get the best visual effect from paper piercing, I always adhere each panel to its mat before piercing. It is a little more difficult, especially if you have more than two layers to pierce through, however, it gives a more dramatic look. If you pierce a layer and then adhere it directly to another, the backs of the holes may smash back in and won't be as visible.

This photo shows my stamped/embossed layer already adhered to the white mat. Most of my paper-piercing is done with a template I got from Stampin' Up when I first started stamping. I use a standard paper-piercing tool and the foam mat is an Ornare Piercing Mat which I bought to use with some Ornare templates....I like this foam mat since it is a larger size. Line up the corner guide of the template with the edges of the top layer.


Once you start piercing, go very slowly and press down on the template at all times. As you are piercing, the template has a tendency to shift. Every few holes, make sure that the guidelines are still square.....otherwise, your pierced line will not be straight. As long as you cut your paper at 1/8" increments, the piercing should come out perfect at the next corner. Please note: Since I rounded the corners on this card first, I usually leave three holes un-pierced on each corner (the corner hole and one on each side of it). You can either pierce two holes by hand to round the corner or strategically place a pearl or embellishment in the corner instead.


I also pierce by hand when I use Spellbinders which are shaped other than a square or rectangle. When piercing a circle or oval, I usually start at top center and "eyeball" the spacing, trying to be consistent as possible. When you are coming close to the top on the other side, it does take a little planning to make them come out without having obvious space differences. When piercing around shapes that have "corner points" as the "Curved Rectangles" below, I usually pierce each point first, then carefully "connect the dots" per se! It does take a little practice, but just take your time....you can do it!!


Usually the back sides of any project are not a pretty picture, but thought it might be helpful to show a "behind the scenes" shot of what most of my cards look like before I adhere them together. When I use paper -piercing, I usually will pop up each pierced panel......the shadow from the space between gives a greater visual of the pierced holes. To make sure that your mailed cards don't come out lopsided or smashed, use plenty of foam tape around the edges. When using ribbon, I always adhere my ribbon before applying the foam tape, to keep it from being lumpy.


Here is my finished card, which features the new Brocade Borders Set, the custom-made Brocade Borders Cutting Dies, the Brocade Background stamp clear embossed with Ranger Clear Embossing Powder and SEI chalk ink, and the "Peace" set from the "Full of Grace" line. I used a Bow Easy to tie the May Arts Embroidered Satin Ribbon and the pearls are by Hero Arts.

One of my absolute favorite challenge blogs is The Shabby Tea Room.....their DT is fabulous and so are their challenges! This week's challenge at the Tea Room is to use the color green or nature on your project....I was happy to oblige!! Check out their challenges.....you'll love 'em!!

As always, thanks so much for stopping by! Many blessings to you!!!


Tuesday, July 7, 2009

Grow in Grace ODBD DT Blog Post

My card today is being featured on Our Daily Bread Designs' Blog for a new feature called, "Time With...." one of the Breadsticks....today it's me!!!
It is my pleasure today to showcase one of the newly released ODBD sets for July, called “Grow in Grace”, along with several items from the ODBD store. The decorative frame is one of the Ornare piercing/embossing templates which was traced, cut out, pierced, stenciled, and the center cut out with a Nestabilities Scalloped Square. The designer paper is “Madeline” by K and Company. The flower is by Prima and is layered over Spellbinders Flourish Accents. For a finish, I added ivory organdy ribbon and lots of Hero Arts Pearls .
Hey, time is running short for the Guest Designer Contest! You can still make it if you hurry!!! Check out the details HERE!

Also, check out the Super Special Sale at ODBD this week.....all ink pads are 25% off!!!!! Sale ends Friday night at midnight! Check back each Saturday for the new special, or sign up for the ODBD newsletter (link is on my right column!) and the special bulletin will be delivered to your email!

Thanks for stopping by! Hope your day is totally blessed!!!

Sunday, February 22, 2009

SgtStamper Take Two


I couldn't resist making another card for the Featured Stamper Challenge. This week Jami Bova aka SgtStamper is being featured. Because of the piercing and awesome layout, I chose this card to case.

I changed the colors, paper, verse, and added oval pearls instead of brads. This "Serenity Prayer" is from Our Daily Bread Designs and will be released on March 1st. The ornare piercing template can also be found on ODBD.  

Thanks for stopping by!