Here is a sample of what you will see on this post, but you will have to go there to see close-up views of each frame, plus the details of how they were made.... CLICK HERE to see the full post.

Blessings,



 Here is a close up which shows off the shimmer from the "Pearl" Glimmer Mist over the panel which was stamped in Stazon Timber Brown and colored with a sponge dauber and Certainly Celery ink pad!
 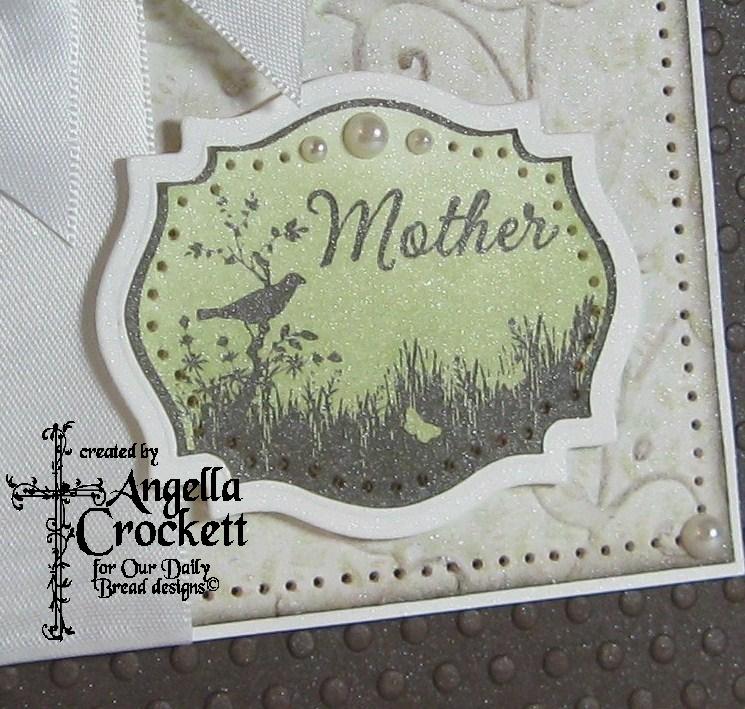 My second project was featured on the Our Daily Bread designs blog on Thursday for a "Time With" segment....this time it was my turn! Some of you have already seen the transformation of the $2.50 birdhouse from Target, but if you would like to see the before & afters plus more views, please check out this post. I wanted to share it here today since I used three new ODBD sets on it, "Bird Border and Corners", "Mother's Day", and "Bird and Butterfly Labels".
  Now, the moment you've been waiting for......on with the Blog Hop!! All of the details and the complete hop order are listed HERE on the ODBD blog! If you have hopped here from Debi's blog (isn't her sample amazing?!), you are in the right place! If you stopped here by chance, make sure you head over to the ODBD blog and start at the beginning....we don't want you to miss a thing!! The hop will run from Friday, April 1st at 8 am EDT until Saturday, April 2nd 8pm EDT. There will be three winners of one set of choice and one lucky winner of three sets of choice...woo hoo!!! The winners will be announced on the ODBD blog on Sunday. Your next stop today is Chris Olsen's blog......you are absolutely going to love the eye candy there!!! Make sure to leave a comment on each blog, then head back to the ODBD blog and answer "the question" in your comment there. Good luck and happy hopping!!! Have a blessed weekend!!!


Once you start piercing, go very slowly and press down on the template at all times. As you are piercing, the template has a tendency to shift. Every few holes, make sure that the guidelines are still square.....otherwise, your pierced line will not be straight. As long as you cut your paper at 1/8" increments, the piercing should come out perfect at the next corner. Please note: Since I rounded the corners on this card first, I usually leave three holes un-pierced on each corner (the corner hole and one on each side of it). You can either pierce two holes by hand to round the corner or strategically place a pearl or embellishment in the corner instead. 
I also pierce by hand when I use Spellbinders which are shaped other than a square or rectangle. When piercing a circle or oval, I usually start at top center and "eyeball" the spacing, trying to be consistent as possible. When you are coming close to the top on the other side, it does take a little planning to make them come out without having obvious space differences. When piercing around shapes that have "corner points" as the "Curved Rectangles" below, I usually pierce each point first, then carefully "connect the dots" per se! It does take a little practice, but just take your time....you can do it!!
Usually the back sides of any project are not a pretty picture, but thought it might be helpful to show a "behind the scenes" shot of what most of my cards look like before I adhere them together. When I use paper -piercing, I usually will pop up each pierced panel......the shadow from the space between gives a greater visual of the pierced holes. To make sure that your mailed cards don't come out lopsided or smashed, use plenty of foam tape around the edges. When using ribbon, I always adhere my ribbon before applying the foam tape, to keep it from being lumpy.
Here is my finished card, which features the new Brocade Borders Set, the custom-made Brocade Borders Cutting Dies, the Brocade Background stamp clear embossed with Ranger Clear Embossing Powder and SEI chalk ink, and the "Peace" set from the "Full of Grace" line. I used a Bow Easy to tie the May Arts Embroidered Satin Ribbon and the pearls are by Hero Arts. One of my absolute favorite challenge blogs is The Shabby Tea Room.....their DT is fabulous and so are their challenges! This week's challenge at the Tea Room is to use the color green or nature on your project....I was happy to oblige!! Check out their challenges.....you'll love 'em!!
As always, thanks so much for stopping by! Many blessings to you!!!

 I have used a few challenges in the making of this card. The Sketch Tuesday Challenge at Christian Paper Crafts (on which I definitely took some liberties), plus the Color Monday Challenge there to choose one or a combo of blue, pink, orange or yellow. The Shabby Tea Room challenge this week is "Summer Fun".....what says summer more than a blooming rose bush? I LOVE working in my flower gardens, but my stamp room usually wins out!! Also, at the Stamp Something blog, the challenge there is "Happy Somethings".....flowers ARE happiness to me!!!! A Spoon Full of Sugar's challenge is Enjoying the Sunshine. The Tuesday Throwdown challenge this week is Celebrate Summer! Lots of summer stuff going on....love it!!
 Today is "Spending Time with Angie" over at the ODBD blog. Each week one of the "Breadsticks" are featured....this week, it's little ole me!!!