Hi, everyone! This week's Inspiration Challenge over at Splitcoast is to find inspiration from Ballard Designs.....I flipped when I saw this cool Patriotic Rooster Art.....perfect to try out a new stamp set, Home To Roost. from my recent Stampin Up order. The rooster was stamped with Stazon Navy ink and partially colored with SU markers. Dye ink re-inkers were mixed with white acrylic ink to paint some of the rooster plus the background, as in the inspiration painting. Though the rooster was finished, I had no ideas for a card design, so I waited for the Featured Stamper challenge....this week's featured artist is Joanne aka kenaijo....congrats, Joanne!! I chose this gorgeous card to help me create a card for the rooster panel. I used the same embossing folder for the background, along with the same layout and button in the corner. The following dies from Divinity Designs were also used: Double Stitched Rectangles, Double Stitched Squares, Squares, Double Stitched Pennant Flags, and Pennant Flags. This card will go into my masculine birthday stash.

Thanks for stopping by!
Blessings,
Hi, everyone! This week's Inspiration Challenge over at Splitcoast is to find inspiration from 'At Home'....wow, there is something there for everyone! Plus, I discovered that there is one of these stores only 45 minutes from my house....that is dangerous! :) I fell in love with this gorgeous canvas art and tried to (similarly) recreate it with a new Stampin Up set, 'Pressed Flowers', plus 'Part of my Story' for the sentiment. Each stamp was inked then spritzed with water before stamping. After the stamping was done, the Confetti White card was sponged with gray around the edges, then I went a bit crazy with the white acrylic paint splatters. It's not my best work, but it was fun practicing with spritzing and splattering. :)
Thanks for visiting with me today!
Blessings,
Hi, everyone! Today I stepped way out of my comfort zone and tried a new technique, for the Mixability Challenge over at Splitcoast, which was a bit messy and my fingers are stained....eek! (Next time I will wear rubber gloves! lol!) The technique is called 'Gouache Watercolor'.....since I do not own any Gouache paint, I created my own by mixing watercolor re-inkers with acrylic paint. With a wet sponge, the different colors of the hybrid paint mixtures were dabbed onto the panel. Since my hands were already messy, I created several more panels to use in the future. Once the panel was dry, it was cut out with the Divinity Designs Custom Pierced Rectangles Dies. The Friday Free4All Challenge theme at SCS is 'I might use this someday'......I dug into my scrap bin and found this 'Find Refuge' Bible Journal image, already cut out, plus a bunch of feathers. All I had to do was color them...yay!!
Thanks for visiting!
Blessings,
Hi, everyone! Today I stepped out of my comfort zone and played in the Mixability Challenge over at Splitcoast, which was to use different types of text on your card. I am also playing in the Friday Free4All Challenge, which is to use a stamp or stamp set which has never seen ink before, so I chose the 'Elements of Style' set by Stampin Up and a misc text stamp which I bought at a scrapbook store over ten years ago. I began by creating an inked panel using the Wrinkle Free Distress Technique (caramel, kraft, and blush dye inks were swiped onto a craft sheet, spritzed, then mopped up with the cardstock). Once the panel was dry, the text stamp was stamped with Stazon Jet Black. Each section of the stamp was torn, inked, then adhered to a Cherry Cobbler card base. White acrylic paint was lightly painted over the text; the floral image from 'Elements of Style' was stamped with Stazon, then the flowers were colored with Cherry Cobbler, Daffodil Delight, and Always Artichoke markers. The 'Dream' letters (from Top Dog Dies) were cut and adhered. I decided not to add any embellishments so that it could be mailed with one stamp.

Thanks for stopping by!
Blessings,
Hi, everyone!! The stamping marathon continues (even though I'm behind in posting)! Two more long posts and then things will be back to normal.
My first card is for the DTGD18kiagc challenge. Instead of using stamps or dies for the background, I chose a real tree branch from my back yard to imprint onto a piece of white cardstock. Here is how it's done: fold a piece of copy paper in half then unfold it; place a cardstock panel down on one half, then the leaves (flowers, etc.), place another piece of cardstock on top of the leaves, then fold the scratch paper over the bundle. Run it through your die cut machine as you would when embossing with your dies. I tried a geranium flower first but it was so 'juicy' that it made a complete mess. (Note: when picking out your greenery for this technique, don't waste your time on ivy or holly or anything with a waxy coating....you'll get no print at all.) After the imprinted cardstock was dry (it was a bit damp), it was die cut with the ODBD Custom Double Stitched Rectangles Dies, then splattered with some artichoke ink from a wet paintbrush. The sentiment from 'Sentiments Collection' was stamped onto a panel cut with the ODBD Custom Circles and Double Stitched Circles Dies. I was amazed that the artichoke ink (sentiment panel) matched the imprint so perfectly!!

Next up is a card created for the DTGD18Jennifrann challenge. The eagle from 'On Eagle's Wings' was stamped with Stazon Jet Black; the beak and feet were colored with a marker, and the rest of the eagle was painted with coffee! I used instant coffee granules and a teeny tiny bit of water to create my watercolor medium. As the coffee dried on the image, it did not warp the cardstock at all and there was a glossy finish to it. However, I noticed that the coffee color would smudge, so I clear embossed the entire image (tip: coffee doesn't like to be heated.....it burned just a bit.) The eagle was fussy cut and popped up with foam tape over a panel which was sponged over a template cut with the ODBD Custom Clouds and Raindrops Dies then cut out and matted with the ODBD Custom Pierced Rectangles Dies.

My next card was created for the DTGD18stampersandeeB challenge.I chose a pretty 6x6 pattern from the ODBD Romantic Roses Paper Collection and trimmed the left side of the panel and adhered it to the other section to create an A2 sized panel. White acrylic paint was brushed over the top section of the panel, then the Amazing Grace stamp from 'How Sweet The Sound' was stamped in Stazon Timber Brown once the paint was dry. The edges of the panel were distressed and sponged before adhering to an ivory card base. I've always wondered if there was such a thing as Shabby Chic in a Clean and Simple form and I think I may have achieved it!!!

This card was created for the DTGD18StampingQueenJAR challenge. I have had these adorable stamps for so many years that I don't know the name of the set or where it came from, but I think these zoo animals make the cutest baby cards! The top panel was cut out with the ODBD Custom Double Stitched Rectangles Dies and the three circles were cut out with the ODBD Custom Double Stitched Circles Dies. A piece of clear acetate (stamp packaging) was adhered to the back of the panel, then foam tape circles were put in place to hold the beads. More foam tape was added around the edges of the panel and a piece of white cardstock was adhered to seal in the beads. Yellow baker's twine was added to match the yellow card and images.

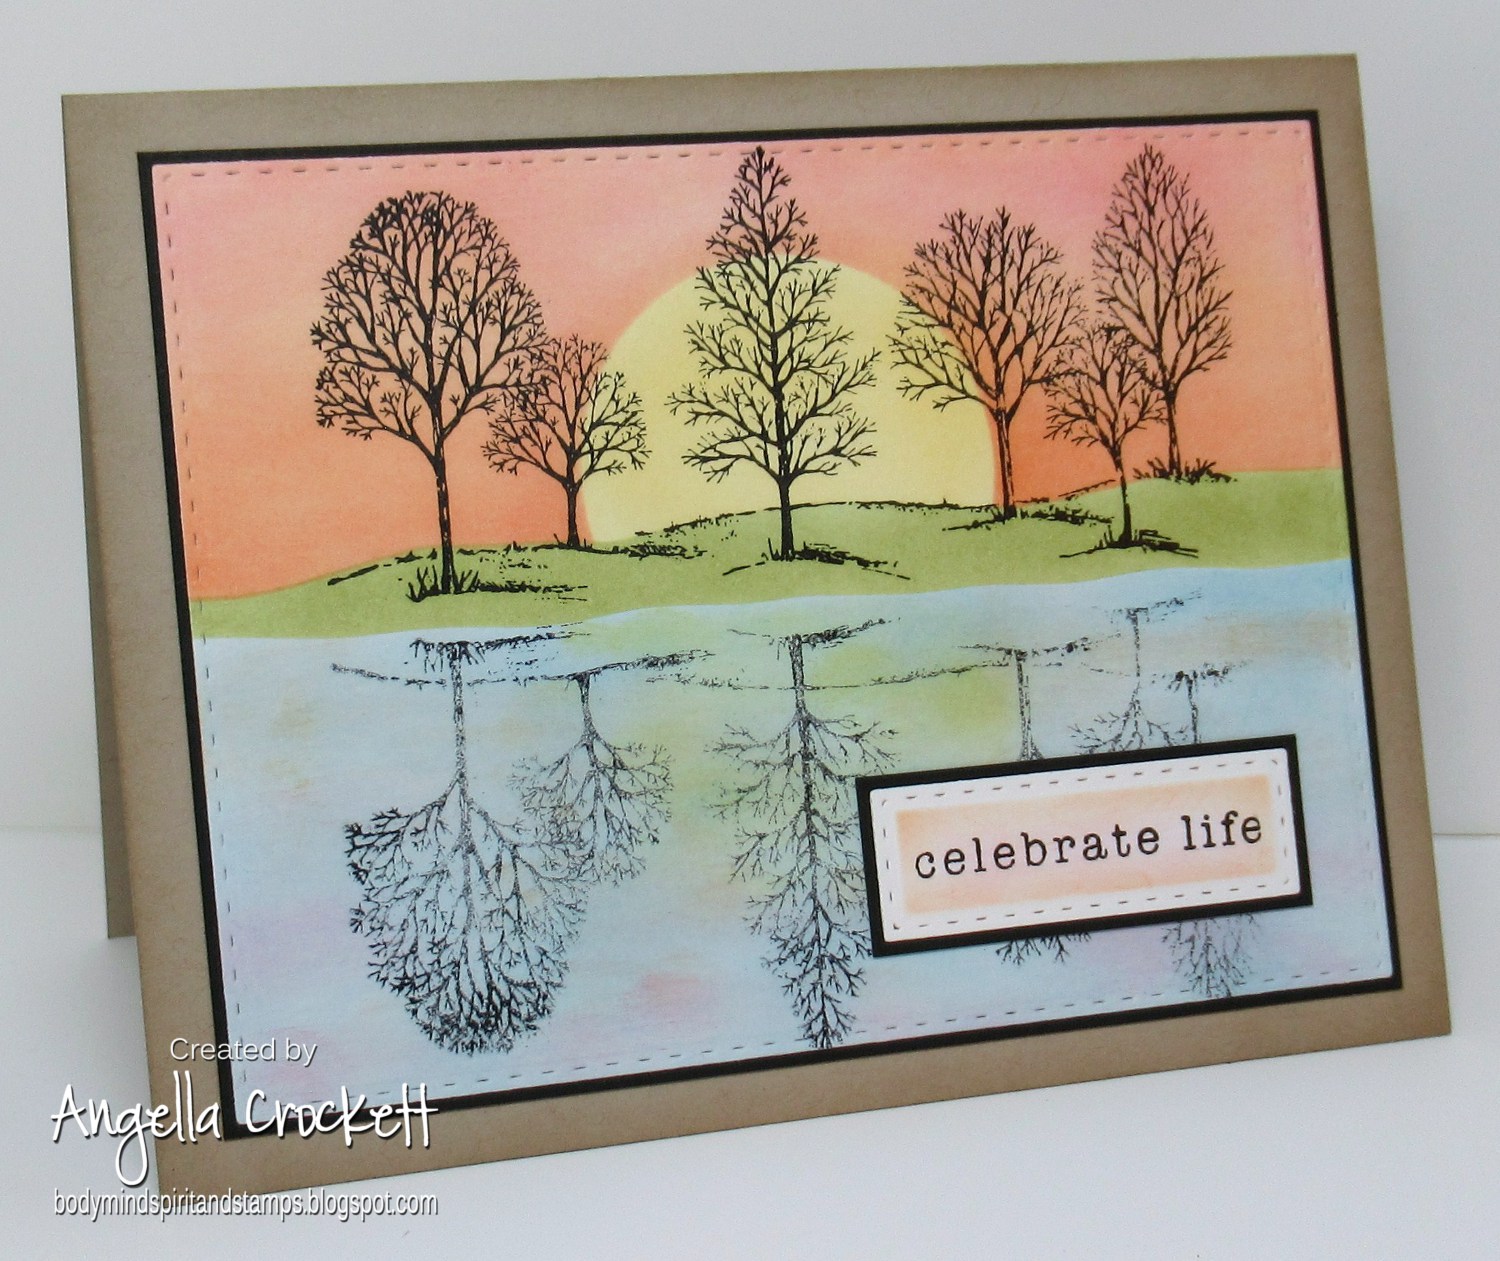
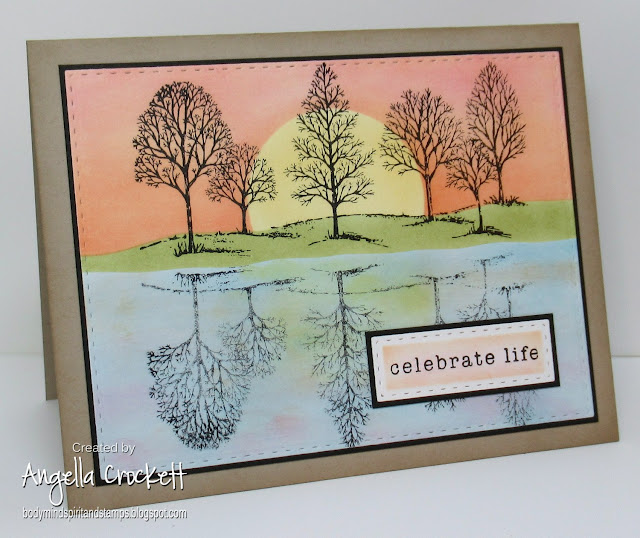
Next up is a card created for the DTGD18justampin challenge. If you are familiar with Stampin Up, you will know this timeless stamp set, 'Lovely As A Tree'. Fun fact: Did you know that in the SCS gallery alone, there are over 10,600 card uploads for this set and 82 thousand comments!? Anyhoo.....I haven't used this in a while, but had fun creating this reflection card using a reverse stamp. I usually begin by trying to get a good reflection image first (a bit of trial and error is needed with the reversing stamp), then I'll use a Stamp-a-ma-jig to position the true image above the reflection. Masking was used to sponge each section separately and a sentiment from 'So Many Sayings' was used in the corner. Both panels were cut out with the ODBD Custom Double Stitched Rectangles Dies.
My last card for today's post was created for the DTGD18LuvLee challenge, plus I will be submitting this to the WT700 Beachy Challenge and the Fan Club Central Theme Challenge for July. The stamped used are from Studio G.....this set cost me a dollar at JoAnn's many years ago. The shell image was clear embossed onto a Sahara Sand card base; the scene was created with sponging over masks and reverse masks. The image panel and mat were cut out with the ODBD Custom Double Stitched Ovals Dies. Matching baker's twine was added for a simple embellishment.
Thanks for stopping by!
Blessings,