Happy Saturday, everyone!!!! Today's Inspiration Challenge is absolutely PERFECT to show off more of Our Daily Bread designs' February stamps and dies! Pssst......if you are signed up for the ODBD newsletter, you know that ODBD has already shown the new sets and is offering HUGE pre-order discounts! Check out the deets HERE!
The Inspiration Challenge at Splitcoast is to find inspiration from Integrity Graphics.......I flipped out when I saw this gorgeous prayer journal and used it to create my own altered steno notepad, using the small heart and sentiment from the new "Bless Your Heart" set and ODBD Custom "Ornate Hearts" Dies. The background was stamped with "Brocade Background" red ink on red cardstock and the hearts and sentiment were heat embossed in white. The dotted lines were drawn with a chalk marker against a ruler.
Here is a simple tutorial on how to decorate a steno pad.....I used a small one, but you can do this with any size:
Step one: Using your scissors, cut one page out of the steno pad, making vertical cuts through the tabs because you want to keep this page intact to use as a template.
Step 2: Cut a piece of cardstock or designer paper to the same size as the entire page from the steno pad.
Step 3: Line up the page over your cardstock, hold in place, then punch holes through the cardstock, using the "template" as your guide.
Step 4: If you plan to stamp on your cardstock, this would be the time to do it. I stamped red on red with the Brocade Background stamp.
Step 5: I white embossed the small heart image from the "Bless Your Heart" set three times, then cut them out with the ODBD Custom Ornate Hearts die set. The scripture verse (same set) was also white embossed onto the page.
Step 6: After finishing the embellishments, I used paper snips to cut vertical lines through the tabs at the top. I then added adhesive to the back of the cardstock, including the back of the cut tabs.
Step 7: After lining up and adhering the lower portion to the top of the steno pad, I used the scissors tip to push each tab through the wire and pressed down on each tab to make sure it was adhered.
Here is the finished altered pad........are you ready to give it a try? You will LOVE how easy it is to personalize your own steno pads for yourself or for a gift for someone else!
Thanks for stopping by! Have a very blessed and safe weekend!!
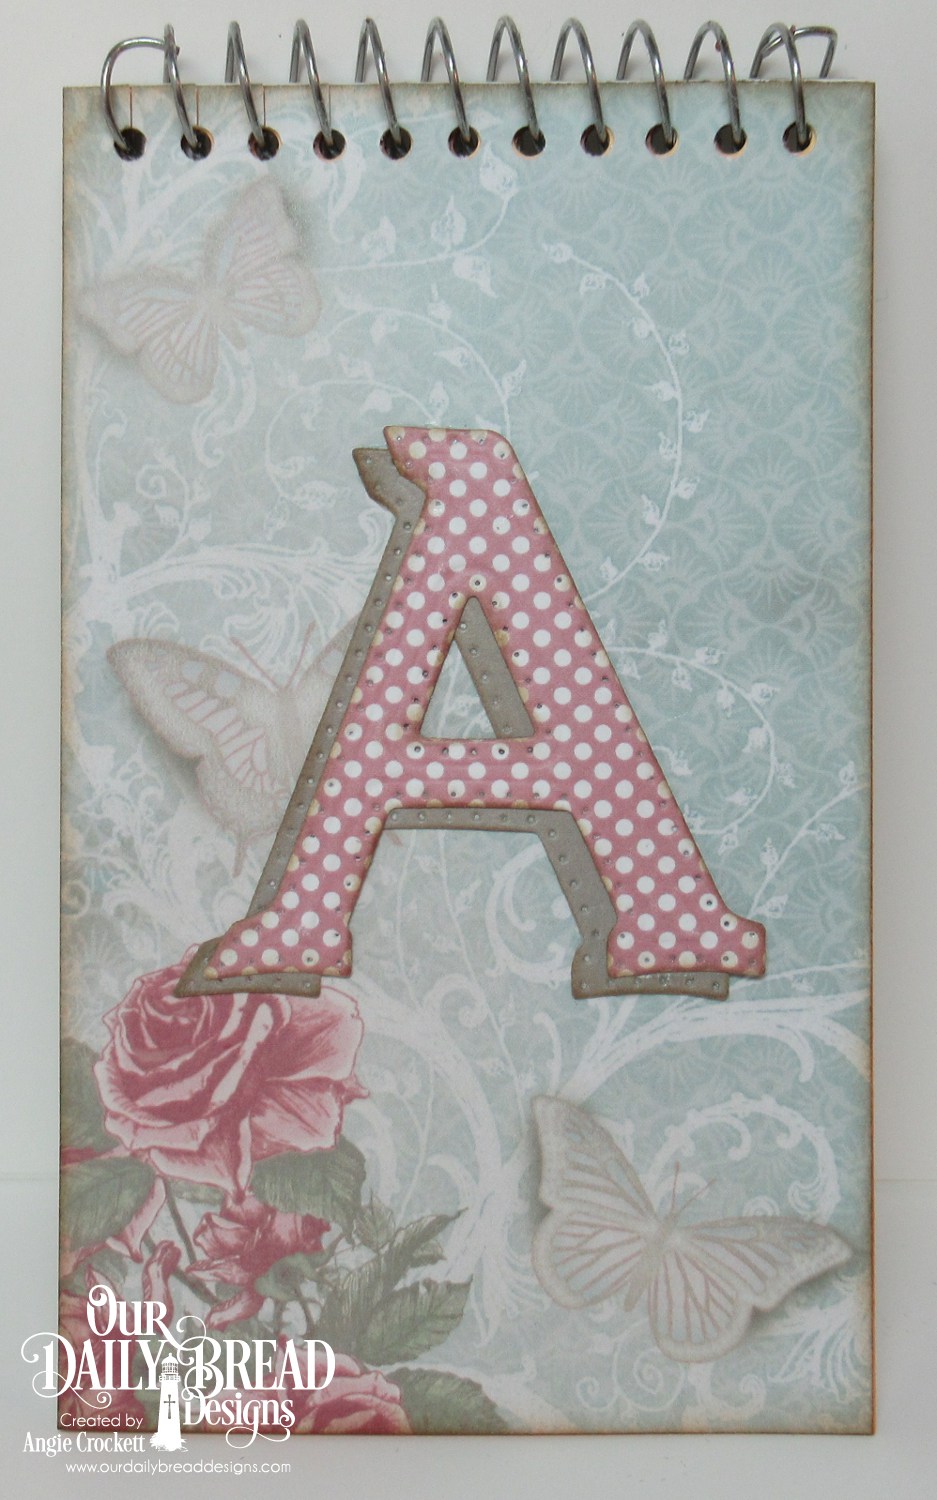
 This set was made for a special friend. I HAVE to make more of these....I had a total blast! The notepad is simply a 3x5 steno pad....check out the easy Spiral Notebook Tutorial I did for Christian Paper Crafts . What I love about this technique is that you don't have to take out the spiral!!!
 The ribbon jar is a recycled Almond jar....my hubby now understands why I have a closet full of these things!!! lol!! This gorgeous designer paper is from SEI, called "Jolie Chocolat", paired up with SU Pretty in Pink. I used one of my new fave Spellbinders Nestabilities sets, called Nested Butterflies. The butterflies on the lid were punched with a Martha Stuart butterfly punch; the pink and white satin ribbon I've had in my stash for at least 15 years; the pink pearls are Basic Grey Opaline Pearls (I love the quality of these!) And I saved the best for last: this awesome stamp set is a September release from Our Daily Bread Designs, called "Friendship". Each month, Kelley ads the most fantastic sets, with more and more versatility! Wait until you see what's coming in October!!!
 Thanks for stopping by today! Stay tuned tomorrow for Bible Verse Thursday and the announcement of last week's challenge winner! Have a blessed day
!