Thursday, September 16, 2010

Bible Verse Thursday / Stamping in Time Combo!

It's another Combo Thursday! I love being able to make one card to combine the Bible Verse Thursday Challenge from Christian Paper Crafts , the Our Daily Bread designs Shining the Light Challenge and the bi-weekly Our Daily Bread designs Stamping In Time Challenge! (Plus any other fun challenges I can squeeze in!)

Speaking of Christian Paper Crafts, yesterday we kicked off our monthly Scrapbook Challenges! We have some awesome, talented gals hosting the new challenges.....come on over and check them out!

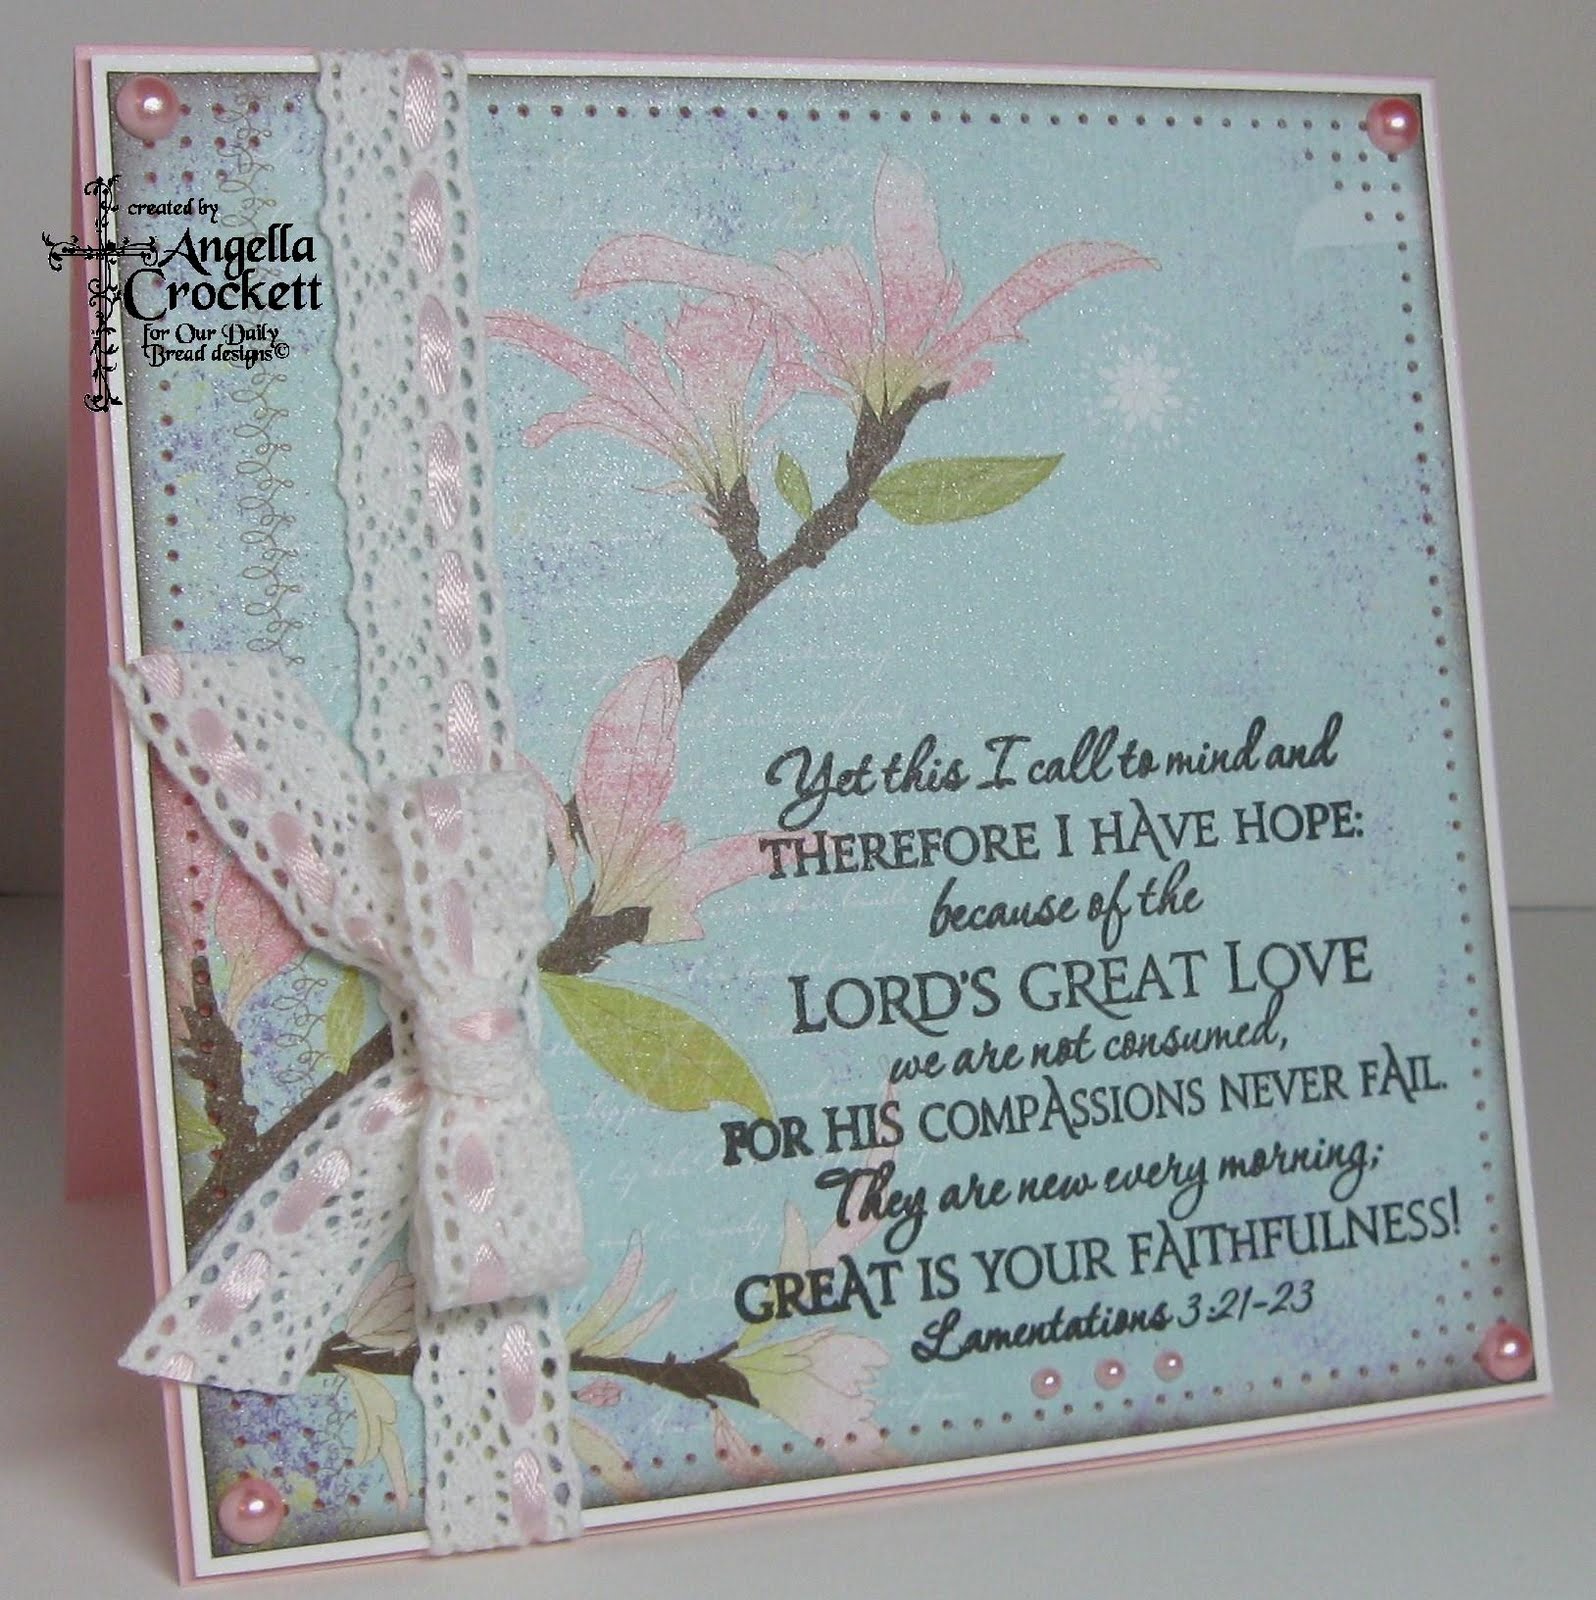
This week's Bible Verse Thursday Challenge is to use any scripture verse about "Faithfulness", how God's Word never changes, about His promises to us, or anything related to faith on your card, layout, or altered item. I have also used Jen's Color Monday Challenge of pink and blue....this "Enchanted" designer paper by Memory Box was perfect to use direct stamping with the verse from Lamentations from Scripture Collection 1 by Our Daily Bread designs. (I have also used Zva Creative Pearls and Pearl Glimmer Mist. After threading the satin ribbon through the lace, I tied the bow with a Bow Easy.)

The Shining the Light Challenge at ODBD is to use Sparkle and Shine on your project! Being the Glimmer Mist addict that I am, I used about six layers of "Pearl" Glimmer Mist!!


It is also time for Our Daily Bread Designs Stamping In Time Challenge(SNTODBD18)! The assignment: break out your ODBD stamps. Our challenge hostess this week is the uber-talented and uber-sweet Cheryl Walker! Cheryl is challenging us to use ribbons and lace! When you think of ribbon and lace you are not just limited to the fabrics. If you have die cuts, punches, or even stamps that have a ribbon or lace look, name, or design, those can work, too. However, you do have to use both! We would love to see what you create using Our Daily Bread Design stamps!

The following ladies have some awesome samples to share for this challenge:
Cheryl
Betty
Fran
Chris
Chrissy
Grace
Connie
Sabrina


Can't wait to see what you come up with for this challenge! Make sure to link your creation to the Stamping In Time post on the ODBD blog for a chance to win $ toward ODBD stamps!!

I have also combined a few other challenges for this card as well:
Betty's Color Challenge at Splitcoast: Pink, blue, and green;
The Papertake Weekly Challenge: an inspiration photo with pinks, blues, purples, browns;
CPS Sketch 184.


Thanks for stopping by today!! Many blessings to you!


Wednesday, September 15, 2010

Our Daily Bread designs' Brocade Borders Custom Cutting Dies!

Happy Wednesday, everyone! Yesterday I shared some of my stamping secrets, both on my blog and on the Our Daily Bread designs blog for "Time With Angie". Today I am sharing with you how to use the new custom cutting dies from Our Daily Bread designs which cut out the new Brocade Borders stamp set perfectly!

The first step is to stamp one of the Brocade Borders.


Each cutting die from the Brocade Border Die Set comes with a clear template in order to line up the cutting die perfectly over the stamped border.


Line up the template over the image. While holding the template in place, use a pen to mark each hole as a guideline for your die.


Place the cutting die cut-side down, lining up and centering the placement holes. I use scotch tape or post-it notes to hold the die in place so that it cuts correctly.


Run this through your favorite die-cut machine...I do use an extra layer of cardstock as a shim. Here is a photo of the result....isn't it awesome!? No more fussy cutting!! I love it!


And here is a repeat view of my card from yesterday's "Angie's Stamping Secrets" post. I split up the tutorials into two posts in order to keep your attention! lol!!!!


Thanks so much for stopping by today! Stay tuned tomorrow for another Bible Verse Thursday/Stamping In Time challenge combo!! Have a blessed day!


Tuesday, September 14, 2010

Angie's Stamping Secrets!

Happy Tuesday, everyone! In case you missed the "Time With Angie" post on the ODBD Blog today, thought I would share some of my stamping secrets here on my blog as well.

It seems like just yesterday that I was a beginner stamper. There are so many little things I have learned along the way which make the difference between creating a good card and creating a great card! One of my favorite sayings is "It's the little things that make life big!" This is true in relationships AND stamping! Today I would love to share some of those little things which I incorporate into my work.

When others ask advice about paper-crafting, here are the most common suggestions I give:
*Always measure and cut accurately;
*Unless you're going for a distressed look, always trim off any paper shreds from the cut edges;
*Never glue any pieces together until you know for sure what the finished project will look like;
*Take your time when assembling your project to make sure things are lined up straight.


The most common question I get is "How do keep your paper piercing so straight?" Here are a few pics and some paper piercing tips:

Number one tip: Never assemble your project and try to paper-pierce afterward....it is nearly impossible to get straight lines and your paper will most likely crease on the edge. To get the best visual effect from paper piercing, I always adhere each panel to its mat before piercing. It is a little more difficult, especially if you have more than two layers to pierce through, however, it gives a more dramatic look. If you pierce a layer and then adhere it directly to another, the backs of the holes may smash back in and won't be as visible.

This photo shows my stamped/embossed layer already adhered to the white mat. Most of my paper-piercing is done with a template I got from Stampin' Up when I first started stamping. I use a standard paper-piercing tool and the foam mat is an Ornare Piercing Mat which I bought to use with some Ornare templates....I like this foam mat since it is a larger size. Line up the corner guide of the template with the edges of the top layer.


Once you start piercing, go very slowly and press down on the template at all times. As you are piercing, the template has a tendency to shift. Every few holes, make sure that the guidelines are still square.....otherwise, your pierced line will not be straight. As long as you cut your paper at 1/8" increments, the piercing should come out perfect at the next corner. Please note: Since I rounded the corners on this card first, I usually leave three holes un-pierced on each corner (the corner hole and one on each side of it). You can either pierce two holes by hand to round the corner or strategically place a pearl or embellishment in the corner instead.


I also pierce by hand when I use Spellbinders which are shaped other than a square or rectangle. When piercing a circle or oval, I usually start at top center and "eyeball" the spacing, trying to be consistent as possible. When you are coming close to the top on the other side, it does take a little planning to make them come out without having obvious space differences. When piercing around shapes that have "corner points" as the "Curved Rectangles" below, I usually pierce each point first, then carefully "connect the dots" per se! It does take a little practice, but just take your time....you can do it!!


Usually the back sides of any project are not a pretty picture, but thought it might be helpful to show a "behind the scenes" shot of what most of my cards look like before I adhere them together. When I use paper -piercing, I usually will pop up each pierced panel......the shadow from the space between gives a greater visual of the pierced holes. To make sure that your mailed cards don't come out lopsided or smashed, use plenty of foam tape around the edges. When using ribbon, I always adhere my ribbon before applying the foam tape, to keep it from being lumpy.


Here is my finished card, which features the new Brocade Borders Set, the custom-made Brocade Borders Cutting Dies, the Brocade Background stamp clear embossed with Ranger Clear Embossing Powder and SEI chalk ink, and the "Peace" set from the "Full of Grace" line. I used a Bow Easy to tie the May Arts Embroidered Satin Ribbon and the pearls are by Hero Arts.

One of my absolute favorite challenge blogs is The Shabby Tea Room.....their DT is fabulous and so are their challenges! This week's challenge at the Tea Room is to use the color green or nature on your project....I was happy to oblige!! Check out their challenges.....you'll love 'em!!

As always, thanks so much for stopping by! Many blessings to you!!!


Sunday, September 12, 2010

Unfrogettable Baby Gift!


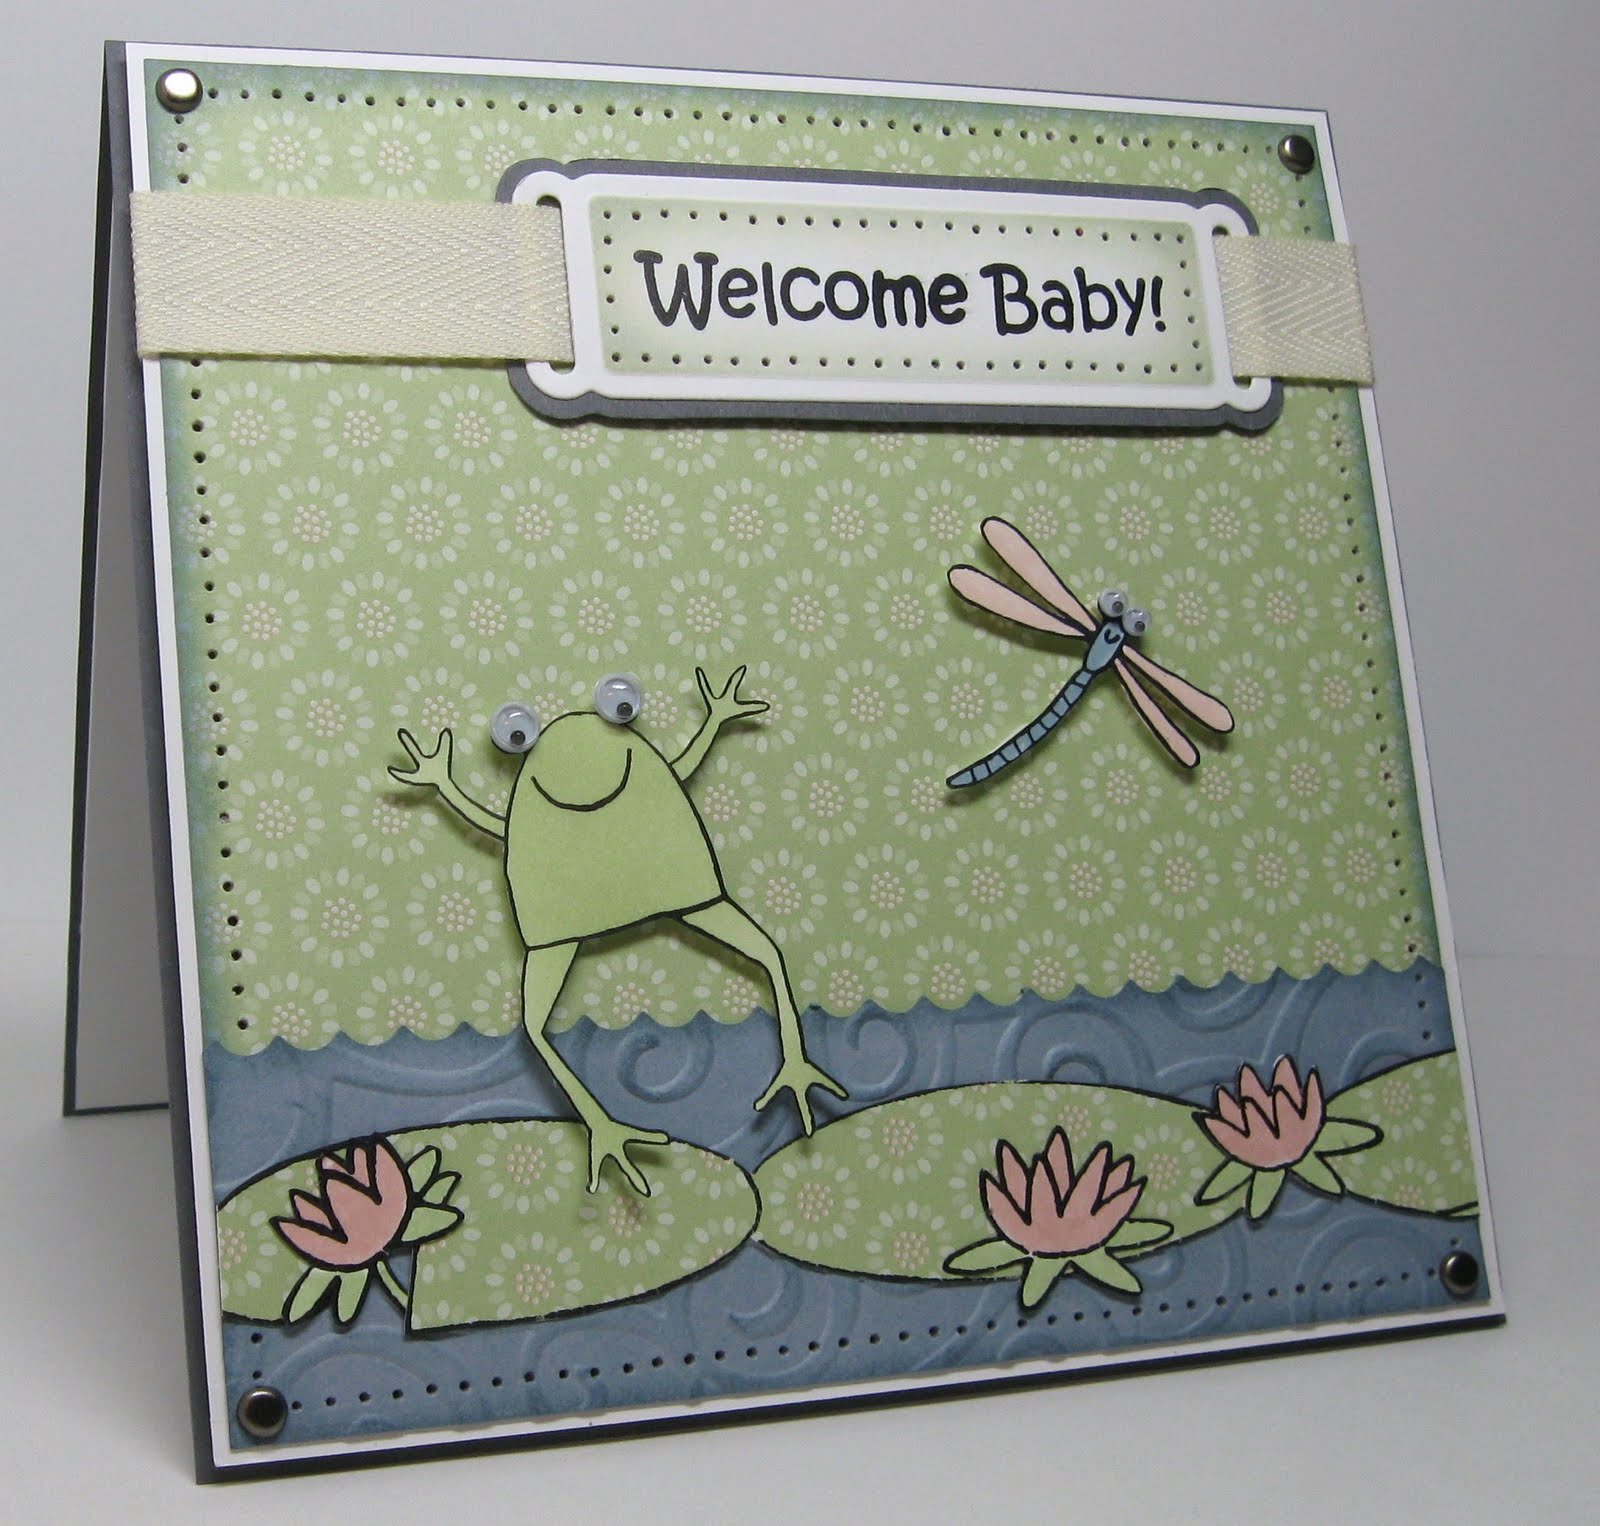
There were so many awesome challenges this week to help with ideas for a baby shower card and gift for a good friend. This card and nameframe were a blast to make! I got to break out one of my fave Stampin' Up sets, "Unfrogettable" and some retired Stampin' Up designer paper from my stash....just don't ask me the name of it!! The "Welcome Baby" stamp is from the Our Daily Bread designs' set, "Noah's Ark".


For the card, I was inspired by the Featured Stamper Challenge at Splitcoast...this week the honors go to Terri aka die cut diva.....I chose the layout of this adorable card and I loved the scalloped strip, so I used scalloped scissors to shape waves into my water panel.
This week's Inspiration Challenge at Splitcoast it to use an item from the Cost Plus World Market store....I chose these adorable Frog Bath Toys! What an awesome store...I need to go back and do some shopping!! Some other challenges I used also are:
Etsy-Inspired: I chose this adorable frog cell phone charm from the Handmade Whimzy shop;
Crafty Catz Challenge: Paper Piecing;
Belli Challenge: Use old stamps (Stampin Up 'Unfrogettable');
Tuesday Taggers: Book inspiration ( how about "Frog and Toad"?);
Cupcake Craft Challenge: Books and Stories ( once again, "Frog and Toad" comes to mind!);
Crazy Challenge: Make a Baby Card; and
Paper Sundaes: Use three embellishments (on the card: Googlie Eyes, Brads, and Twill Ribbon).

Thanks so much for stopping by today! Hope you are having a very blessed weekend!!!


Thursday, September 9, 2010

Bible Verse Thursday - Salvation


Happy Thursday!!! Time for another Bible Verse Thursday Challenge at Christian Paper Crafts! This week's challenge theme is "Salvation".....use any scripture verse about salvation on your card, layout, or altered item.


I have also used Jennipher's Sketch Tuesday Challenge from Christian Paper Crafts this week.

Card details:
Stamps: Our Daily Bread designs'
"Never Thirst";
Paper: Stampin' Up Chocolate Chip and Whisper White,
Memory Box designer paper;
Ink: Stazon Timber Brown, Stampin' Up Pink Pirouette, Chocolate Chip;
Accessories:
Bow Easy, May Arts Satin Ribbon, "Pearl" Glimmer Mist, Zva Creative Pearls, Spellbinders Labels 15 , Corner rounder, paper piercer and template.

Thanks so much for stopping by today! God's blessings to you!

Monday, September 6, 2010

"Never Thirst" Challenge Combo


Happy Labor Day, everyone! Hopefully you had a day off as I did, and a paid day at that!! I was so happy to spend some time in my stamp room today....there are a lot of awesome challenges this week! I used quite a few for this card. The one that got me started was the Color Monday Challenge at Christian Paper Crafts to use gray, pink, white (optional black).....what a perfect opportunity to break out some SEI velvet paper which Teresa Eames so generously handed out at the SEI CHA booth back in January!! Thanks, Teresa!!!

Here are some other challenges I used as well:
Stampin' Sisters in Christ: water;
Mojo Monday sketch;
Lexi's Creations: Flower Power;
Cowgirl Challenge: Anything Goes;
The Shabby Tea Room: "Tag, You're It!";
Pile It On: Pile on the Layers;
Alice In Wonderland: Shine/Sparkle.


Card Details:
Stamps: Our Daily Bread designs' "Never Thirst";
Cardstock: SU Pink Pirouette, Whisper White;
Designer Paper: Pink and Gray SEI Velvet Paper and SEI "Juliette: Sweet Perfume";
Ink: Stazon Jet Black and SU Markers;
Accessories: Bow Easy, May Arts Satin Ribbon, Exacto Knife, Paper Piercer and template, CM Corner Rounder, Spellbinders Lacey Circles, Hole Punch (tag), Zva Creative Pearls, Cuttlebug Damask Embossing Folder.

Thanks so much for stopping by today! Have a blessed week!!!!


Sunday, September 5, 2010

Unfrogettable Birthday


My nephew, Ethan, turns 2 this weekend....he loves cars and trucks, but I didn't have the time to round up any stamps like that, so frogs it is! The sentiment is from one of my fave SU sets, "Unfrogettable", plus its coordinating "Lily Pad" wheel, and the little frogs are from "Very Punny". I haven't used Polyshrink shrinkable plastic in a while, so I stamped three frogs, cut them out with paper snips, and shrunk them down with my heat tool, placed one on the tag and one in each corner for embellishments. The water was sponged with Tempting Turquoise, using a scratch paper mask.

I have used the following challenges in the making of this card:
The Fun On Friday Challenge at Christian Paper Crafts is to use numbers on your project;
Just Scraps Challenge#18: Fussy Cutting;
Our Creative Corner: ABC's and 123's;
Etsy Inspired Challenge: I LOVED the colors in this ring from the very fun Glamasaurus store;
Stamp Something Challenge: Something Cute;
Inspiration Challenge at Splitcoast: Once again, I LOVE turquoise and olive, so I chose this bag.

Thanks so much for stopping by today! Have a blessed holiday weekend!!