Hi, everyone! Where did January go?! Welcome to February and welcome to another new release from Divinity Designs LLC!!! The goods just keep on coming!! This month's release is SWEET.....check out the entire release and lots of gorgeous project samples HERE....enjoy!!
Here are the items I have used to create my two project samples for today:
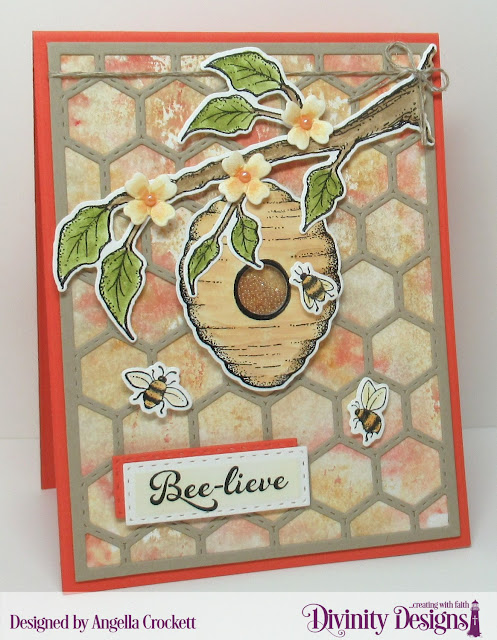
My first card was super fun to make!! I wanted to use bright, cheerful colors, so after the tangerine card base was cut out with the A2 Portrait Card Base with Layer Dies, I created a Wrinkle Free Distress (or Smoosh) panel with tangerine, mustard, and kraft inks on smooth white cardstock. Once the inked panel was dry, the frame, which was cut with the Quilted Honeycomb Background Die, was adhered over it. The images from the 'Bee-lieve' Stamp/Die Duos set were stamped in Stazon Jet Black, water-colored, and popped up with foam tape. The center of the bee hive was cut out with one of the button dies from the Sewing Set Dies so that it could become a shaker card with honey-colored micro beads inside. The tiny flowers were cut with the Ornamental Crosses Dies set. The sentiment was stamped on a panel cut with the Double Stitched Rectangles Dies. The same die was used to cut the offset mat behind it.
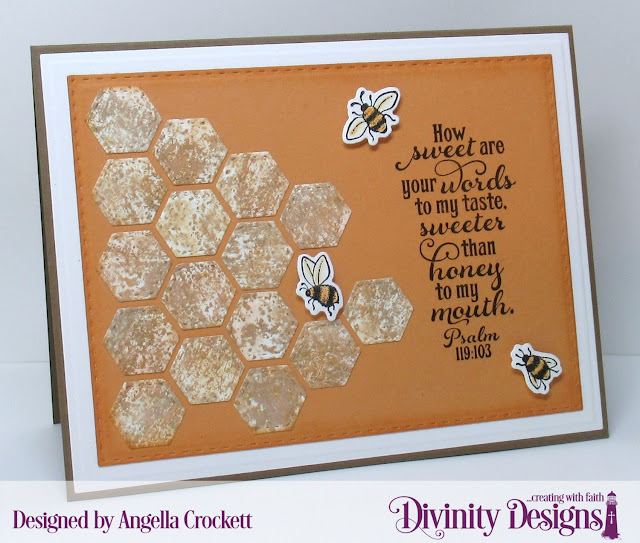
For my next card, the 'Bee-lieve' Stamp/Die Duos set, Quilted Honeycomb Background Die, and Double Stitched Rectangles Dies were used again, along with the A2 Landscape Card Base with Layer Dies and the Matting Rectangle Die. What I LOVE about the Quilted Honeycomb Background Die is that both the frame and cut-outs are stitched, so that you have twice as many design ideas!! I created another Wrinkle Free Distress panel, this time with mustard and kraft inks; once dry, the panel was cut with the Quilted Honeycomb Background Die and embossed. (The edges of the honeycomb cut-outs are defined in person, but the camera did not agree!) Since I used only the cut-outs for this card, I will save the frame and extra pieces for later. Tip: for each background die with frames and cut-outs such as this, I keep all of the extra parts and pieces in envelopes for later projects.
Thanks so much for visiting today!
Blessings,


No comments:
Post a Comment