Saturday, July 27, 2019
Divinity Designs LLC July Design Team Challenge
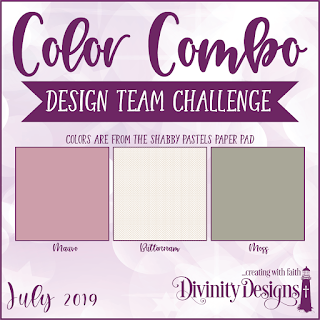
Hi, everyone! Kelley has given us another fun Design Team color challenge this month, which is based on the Shabby Pastels Paper Pad. Check out the other samples HERE and HERE!
For my card, I chose to create a window scene since I haven't used these dies in a while. The window was created with the following custom dies: Welcoming Windows, Window Shutter and Awning, Flower Box Fillers, and the word die and sentiment are from the 'You Bless Me So' Stamp/Die Duos set. The 'siding' was created by cutting strips of the polka dot paper, sponging the edges, then adhered them so that they were overlapping. The largest die in the Pierced Rectangles Dies set was used to trim the polka dot panel. A white gel pen was used to highlight the flower centers. Other than white cardstock, all of the other pieces were cut from the Shabby Pastels Paper Pad.
Thanks for stopping by today!
Blessings,
Tuesday, July 9, 2019
Baby Rattles in Blue
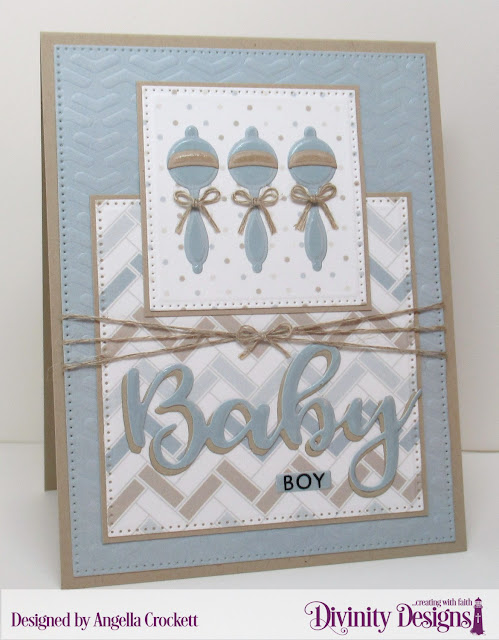
Hi, everyone! This week's Featured Stamper over at Splitcoast is the amazing Lee Ann Barrett aka whippetgirl....congrats, Lee Ann! I chose this adorable card to recreate today, using the following items from Divinity Designs: Baby Boy Paper Pad, Bless This Baby Stamp/Die Duos, Baby Blessings Dies (rattles), Sentiment Strips Dies, Arrows Mixed Media Stencil, Pierced Squares Dies and Pierced Rectangles Dies. The Arrows stencil was used to dry emboss the background....I love the versatility of stencils!! The blue paper and two patterns are from the Baby Boy Paper Pad...such a fun collection! Though not very visible in the photo, a clear glaze pen was used to highlight the baby rattles and sentiments. Linen thread was the only added embellishment.
Thanks for visiting with me today!
Blessings,
Thanks for visiting with me today!
Blessings,
Tuesday, July 2, 2019
Always There For You
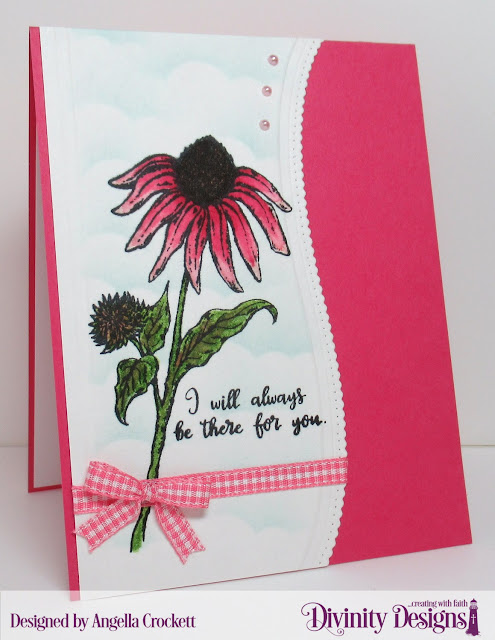
Hi, everyone! This week's Featured Stamper over at Splitcoast is Janeen aka janeenk...congrats, Janeen! A dear friend of mine passed away last week, so I need a sympathy card for his family. I chose this beautiful card from Janeen's gallery to case today. I used different colors, different stamps and a border die instead of a punch. The coneflower image and sentiment are from the 'Forever Friends' set by Divinity Designs LLC and the border was cut with the Leafy Edged Borders Dies set. The image was colored partially with markers then blended by watercoloring. The bow was tied with a Bow Easy and two raised 'stripes' were added to the left edge of the panel with my Scor-buddy, however, the camera did not capture them well. This card will be submitted to the Color Challenge and Clean and Simple 'Summer Garden' Challenge as well.
Thanks for visiting with me today!
Blessings,
Thanks for visiting with me today!
Blessings,
Monday, July 1, 2019
Divinity Designs LLC July New Release!
Hi, everyone! Welcome to the July release from Divinity Designs LLC! This month's main theme is all about BABIES! See all of the new amazing products, designer samples, plus info on how to win some goodies HERE.
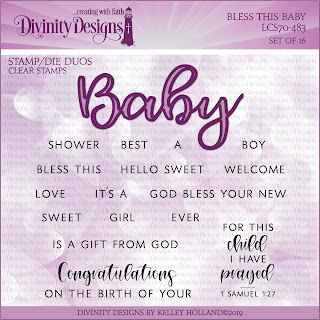
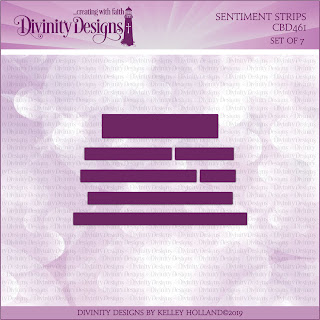
These are the products featured in my project samples for today:
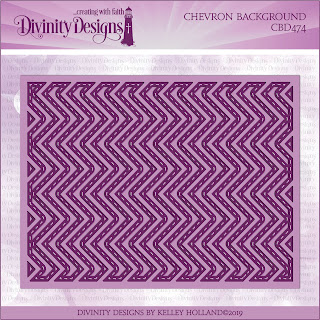
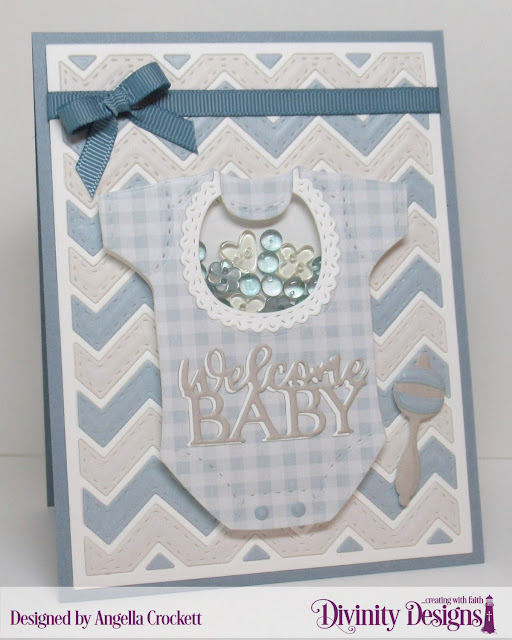
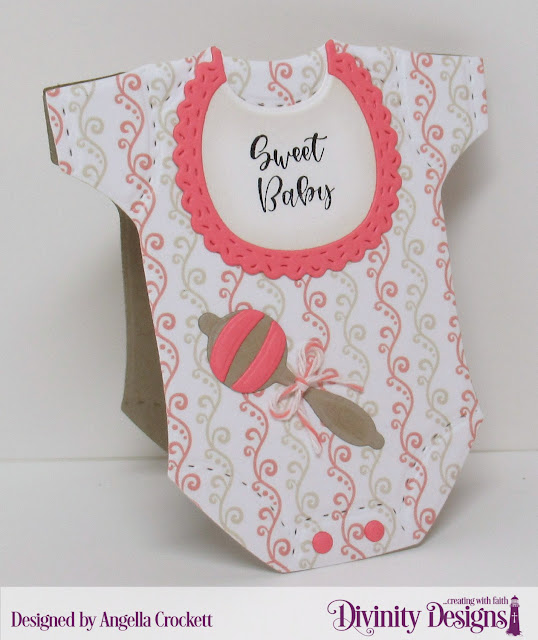
First up is a shaker card which features three solids and one gingham pattern from the new Baby Boy Paper Pad, the AWESOME new Chevron Background Die, and the adorable Baby Blessings Dies set. The onesie was cut from the gingham paper first; the bib die cut out the shaker aperature; a piece of clear stamp packaging was adhered to the back to create the window. Two layers of foam tape were added to make a wall for the buttons and dew drops. Another white onesie was cut to seal the back of the shaker and the lacy bib border was used to frame the shaker window. Matching ribbon and a bow tied with a Bow Easy were added.
Next is a clean and simple design created with the Chevron Background Die, Bless This Baby Stamp/Die Duos, and the Sentiment Strips Dies. The two color chevron strips and the Baby die cut were cut from the Baby Girl Paper Pad. This was super quick and easy to make. The sentiment was cut out with the Sentiment Strips Dies and popped up with foam tape, plus the Baby die cut was wide enough that foam tape was added easily to the back....yay!!
I have so many plans for the new Letterboard Dies set.......I will be making lots of gifts with this for sure, plus some signs for my crafty space! For my card below, I chose a simple, but powerful message which stems from Proverbs 18:21, "Death and life are in the power of the tongue; and those who love it will eat the fruit thereof." The words that we speak to ourselves and to others are very powerful and cannot be unspoken, so it is important to choose wisely and "Speak Life".
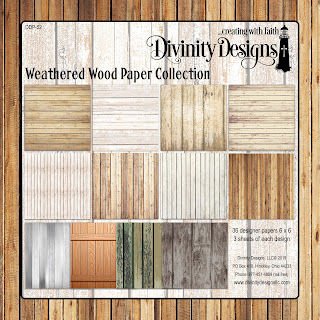
Instead of black, I cut the letterboard section from dark gray, cut the frame from a pattern from the Weathered Wood Paper Collection, and framed it with a Scalloped Square Die cut from magenta cardstock. The cross and flowers were cut with the Ornamental Crosses Dies set and the leaves were cut with the Bitty Blossoms Dies set.
Next up is a fun gift set which features the Sweet Baby stamp set, Candy Carrier Dies, Baby Blessings Dies, Baby Girl Paper Pad, and six Hershey Nuggets....yum!! The Candy Carrier is two sided.....three nuggets on each side. The matching shaped card was cut with the Baby Blessings Dies out of the same colors and designer paper. Below are close up views of each.
Thanks for hanging out with us today!
Blessings,
Subscribe to:
Comments (Atom)
